


Call us NOW
Beginner’s Guide to Baking Sourdough Bread at Home
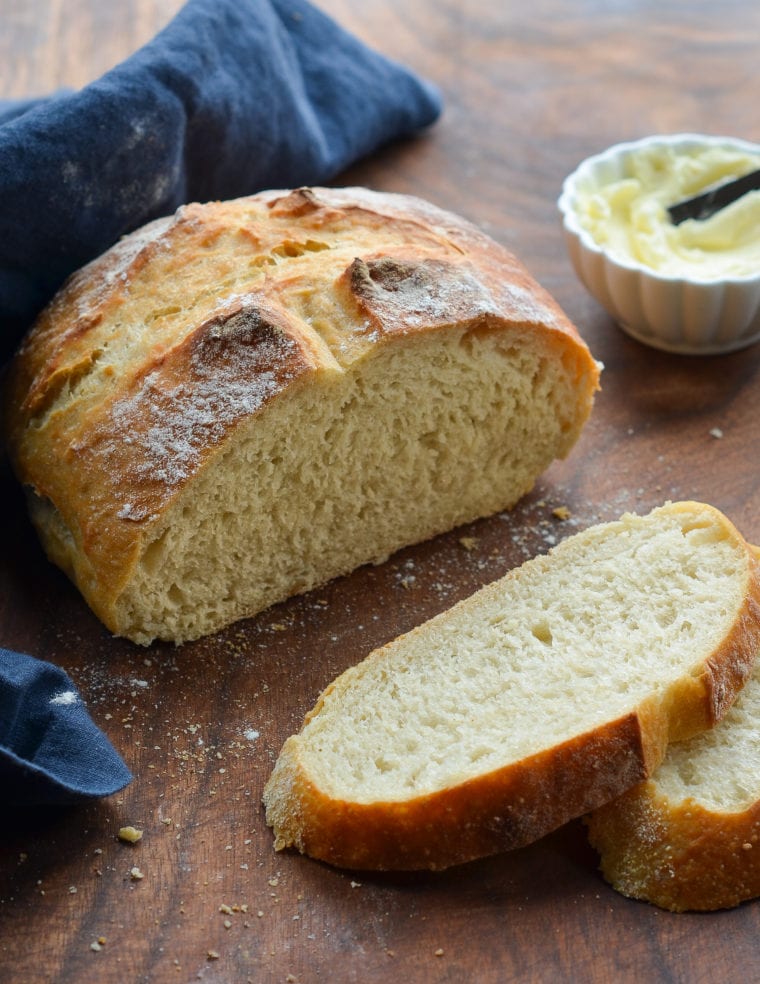


Sourdough bread is one of the most rewarding types of bread you can bake at home. With its crisp crust, airy interior, and deep flavor, it has become a favorite among both beginner bakers and professionals.
The good news is that you don’t need complicated ingredients or professional training to start baking sourdough. With a few basic tools and some patience, you can make bakery-quality bread in your own kitchen.
If you plan to bake bread regularly, having the right equipment makes the process easier and more consistent. At CulinaryProfis, we offer professional baking tools and the powerful Ankarsrum stand mixer, designed specifically for kneading heavy bread dough.
You can explore the collection here:
👉 https://culinaryprofis.com/collections/ankarsrum-original-stand-mixers-accessories
What Is Sourdough Bread?
Unlike traditional bread recipes that rely on commercial yeast, sourdough bread uses a natural fermentation process.
Instead of packaged yeast, sourdough uses a fermented mixture of flour and water called a starter. This starter contains wild yeast and beneficial bacteria that naturally cause bread dough to rise.
This slow fermentation process creates:
• deeper flavor
• better digestibility
• a crisp crust
• an airy crumb structure
Because the process takes longer than standard bread baking, the flavor development is significantly richer.
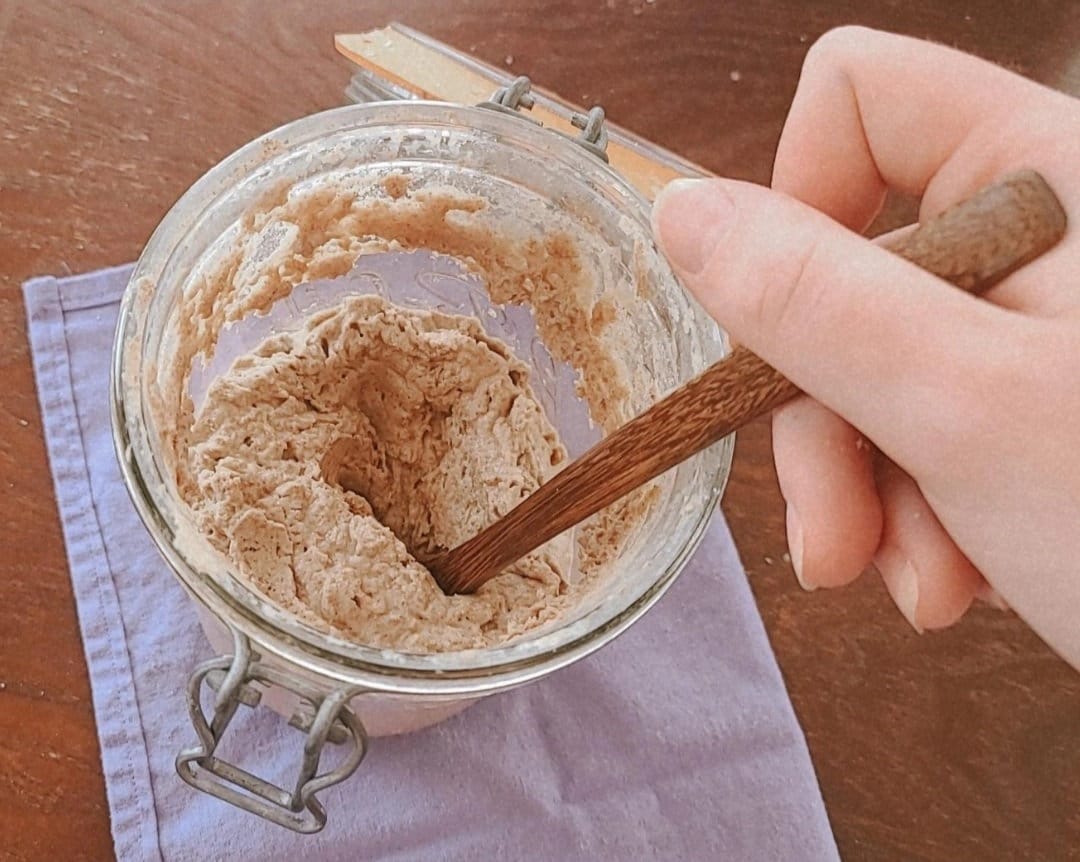
What Is a Sourdough Starter?

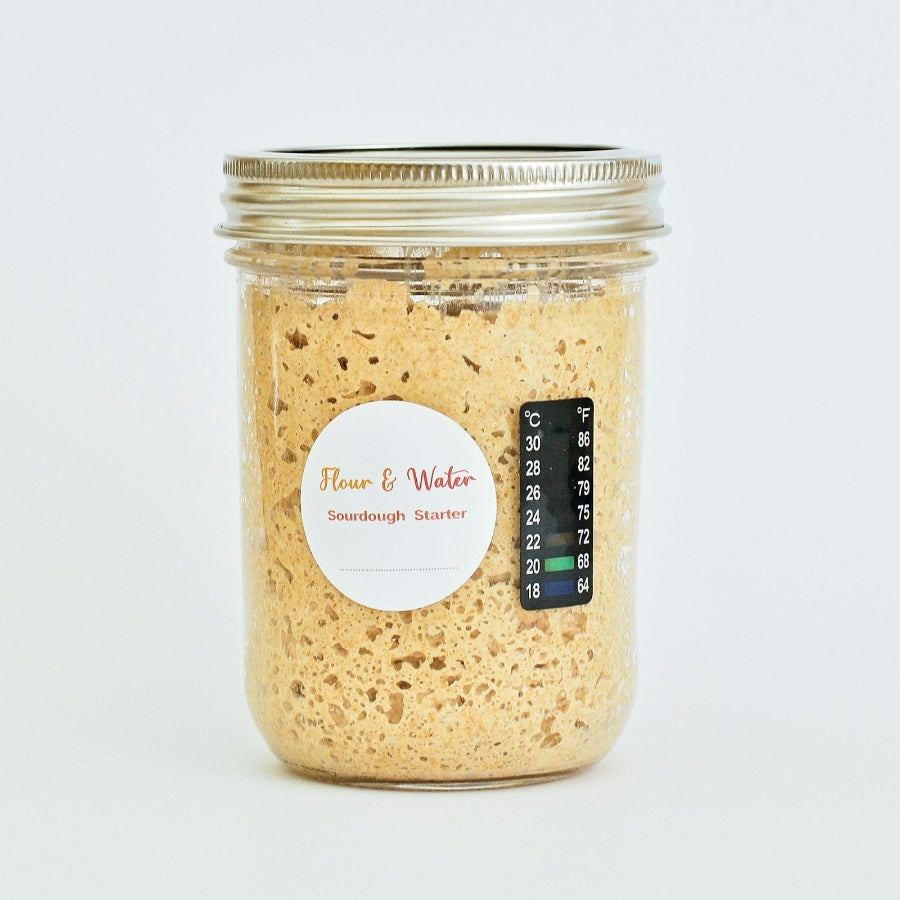


A sourdough starter is a living culture made from flour and water that captures natural yeast from the environment.
Over several days, the mixture begins to ferment and produce bubbles as yeast and bacteria multiply.
Once the starter becomes active, it can be used to naturally leaven bread without adding commercial yeast.
Feeding Your Starter
To keep your starter healthy and active:
-
Remove half of the starter.
-
Add equal weights of flour and water.
-
Mix thoroughly.
-
Let it rest at room temperature until bubbly.
A healthy starter should:
• double in size
• produce visible bubbles
• smell slightly tangy
Depending on room temperature, this process can take 2–12 hours.
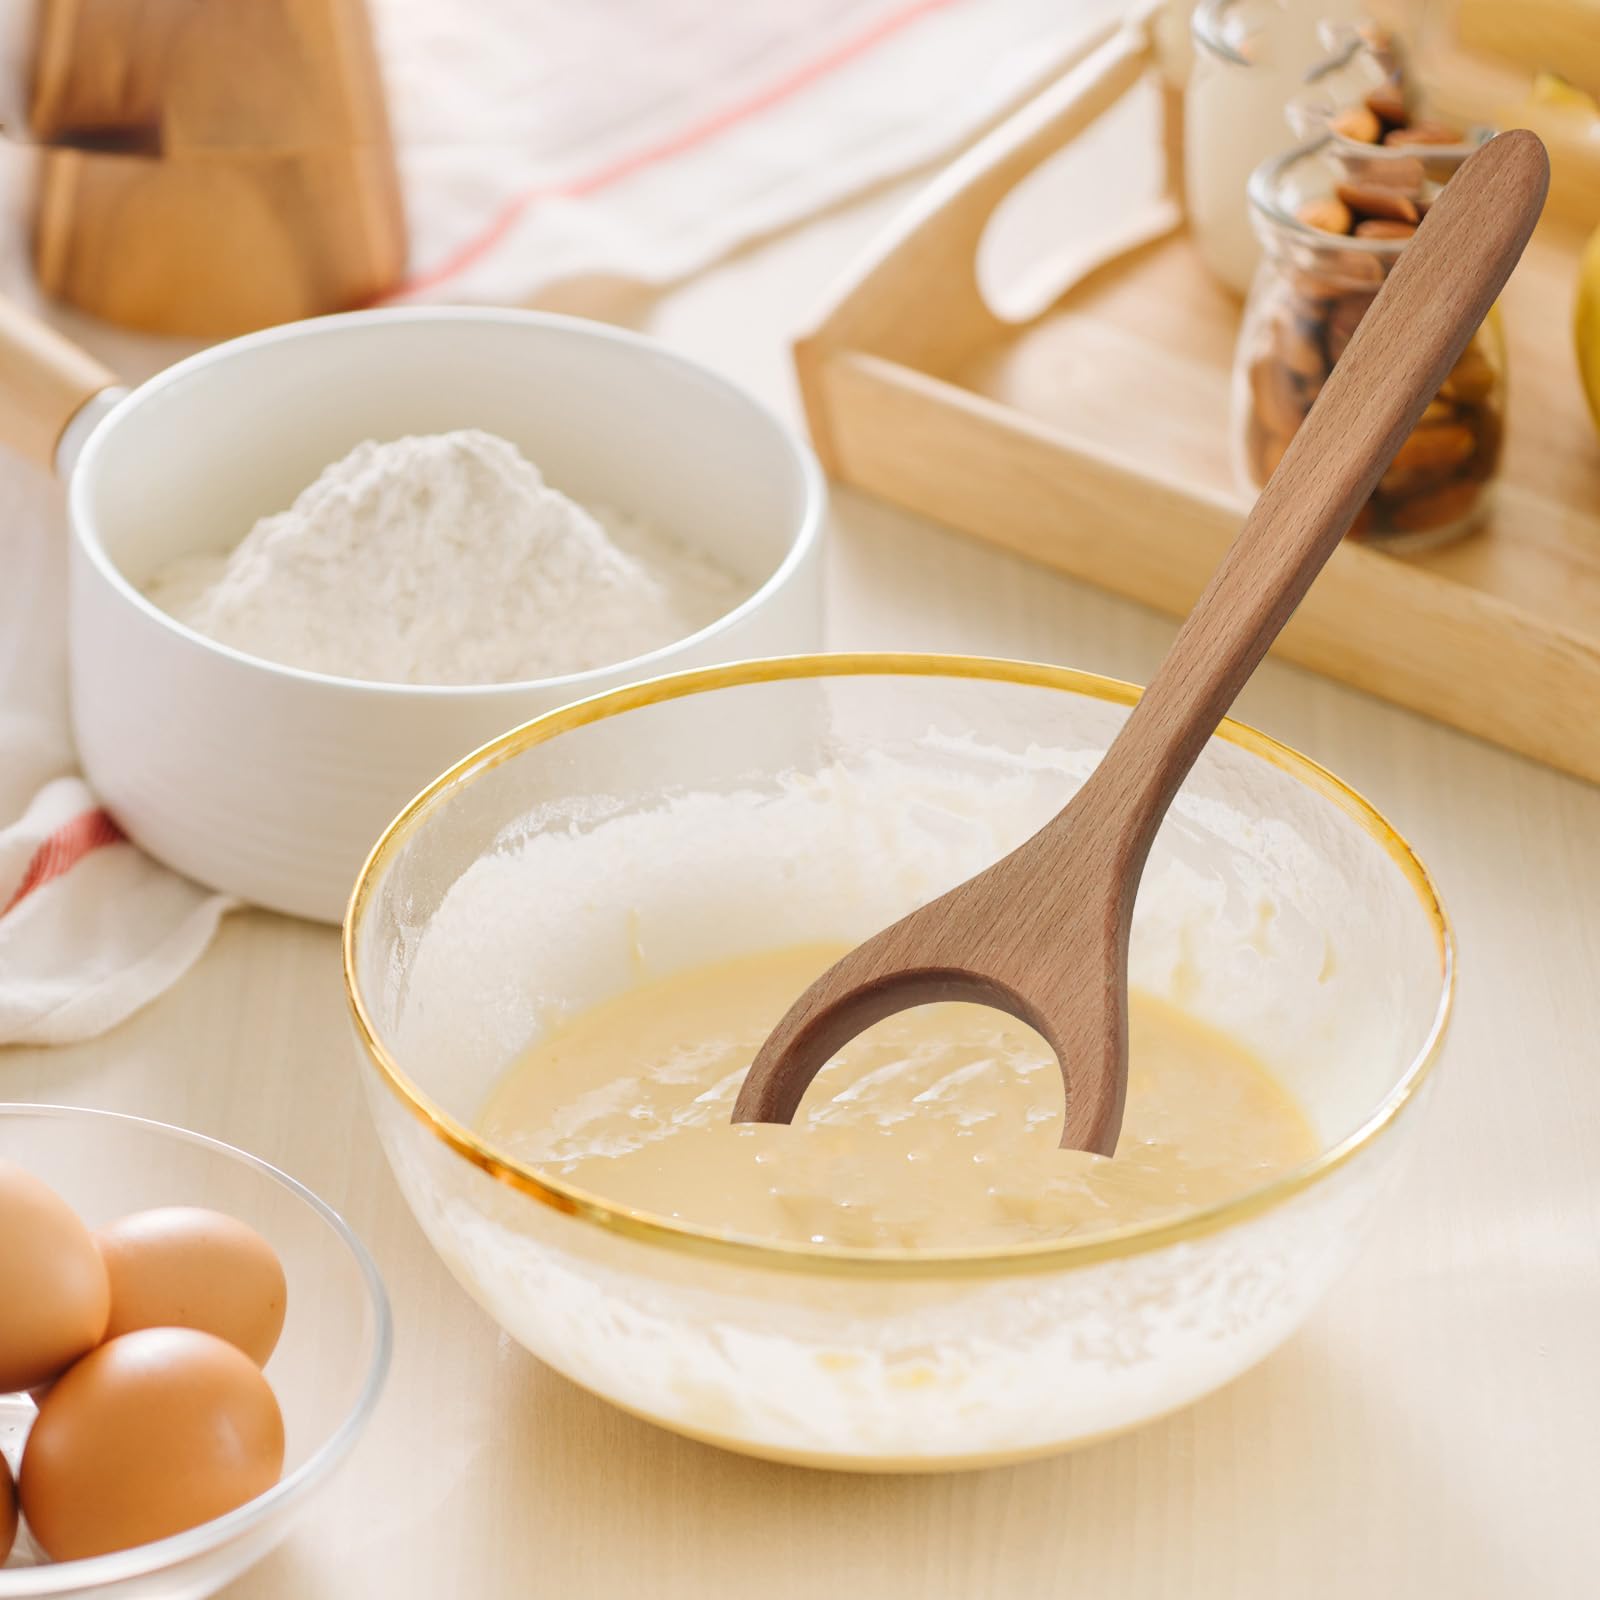
Ingredients for Basic Sourdough Bread
Sourdough bread uses only a few ingredients:
• Bread flour
• Water
• Active sourdough starter
• Salt
• Olive oil (optional but helpful)
Because the ingredient list is simple, ingredient quality plays an important role.
Most bakers prefer strong bread flour because it contains more protein, which helps develop stronger gluten.
Mixing the Dough

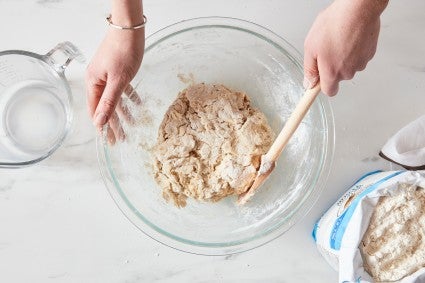
Start by mixing the following ingredients in a large bowl:
• water
• sourdough starter
• olive oil
Stir until the starter dissolves completely.
Then add:
• bread flour
• salt
Mix until the dough forms a rough texture. At this stage the dough will appear shaggy and uneven, which is normal.
Many bakers mix dough by hand, but if you bake frequently, a powerful stand mixer can make the process much easier. The Ankarsrum mixer available at CulinaryProfis is particularly popular among bread bakers because its design handles heavy dough efficiently.
You can see the available mixers and accessories here:
👉 https://culinaryprofis.com/collections/ankarsrum-original-stand-mixers-accessories
Bulk Fermentation (First Rise)


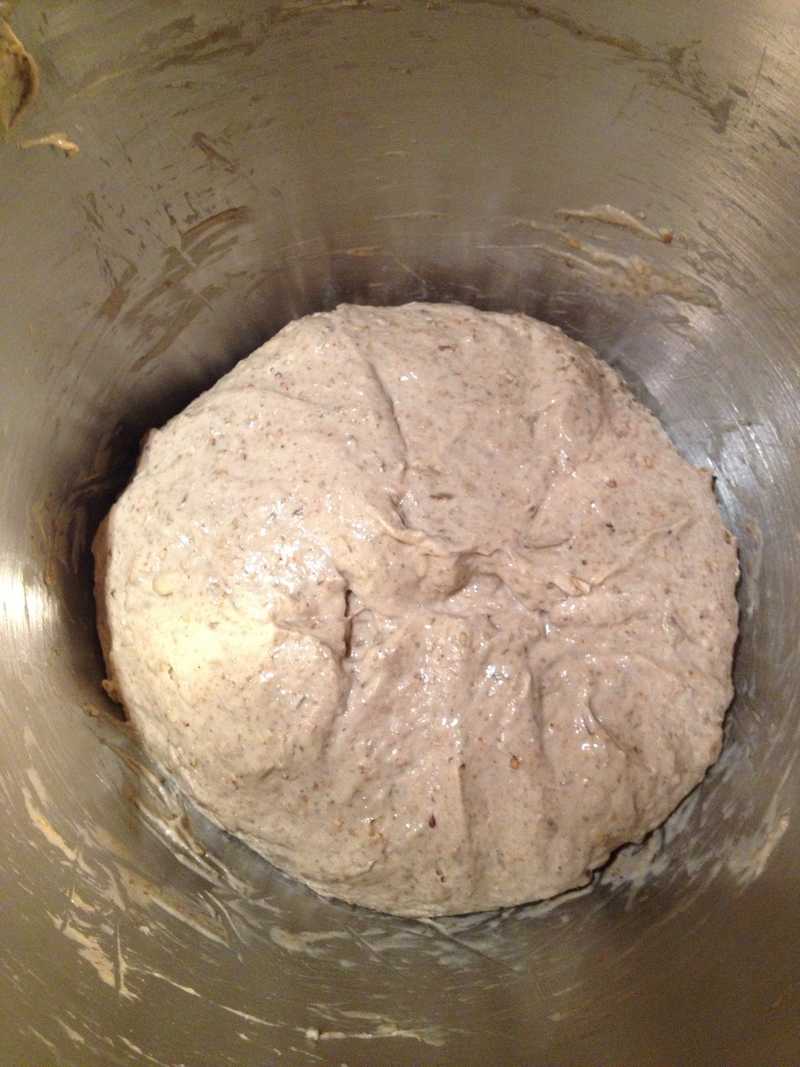
Once the dough is mixed, it needs time to rise through fermentation.
This stage is called bulk fermentation.
Depending on temperature, this can take:
• 3–4 hours in warm kitchens
• up to 10–12 hours in cooler environments
The dough is ready when it looks:
• puffy
• slightly domed
• almost doubled in size
Temperature plays a huge role in fermentation, so always observe the dough rather than relying strictly on time.
Stretch and Fold Technique
During fermentation, bakers often strengthen the dough using the stretch and fold technique.
To perform this step:
-
Lift one side of the dough.
-
Stretch it upward.
-
Fold it back onto the dough.
-
Rotate the bowl and repeat.
This technique improves gluten development and helps the loaf rise higher during baking.
Shaping the Dough


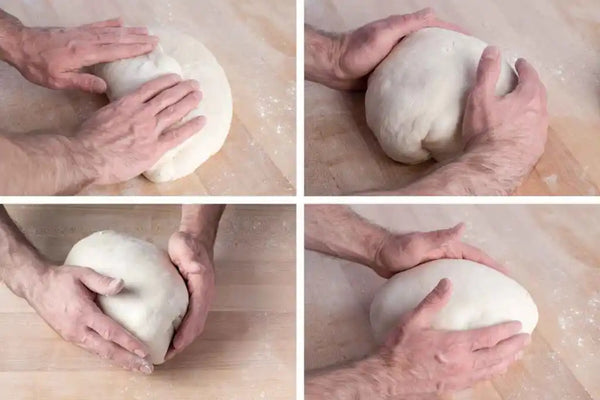
Once fermentation is complete, transfer the dough onto a lightly floured surface.
Shape the dough into a tight round ball by folding the edges toward the center. This creates surface tension, which helps the bread rise properly in the oven.
Many bakers place shaped dough into a proofing basket (banneton) to maintain its shape before baking.
Scoring the Dough

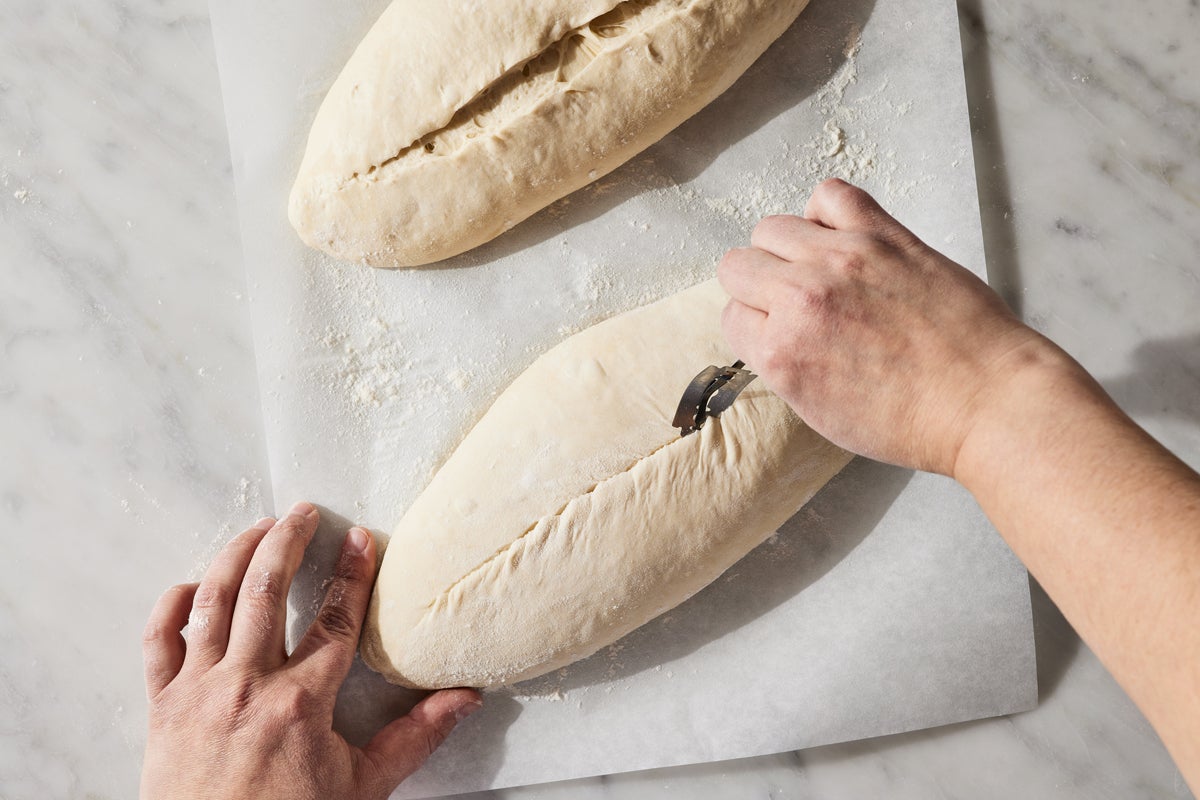
Before baking, make a shallow slash across the top of the dough.
This process is called scoring.
Scoring allows steam to escape and controls how the bread expands during baking.
Without scoring, the loaf may crack unpredictably.
Baking the Bread
For best results, sourdough bread is often baked in a Dutch oven or a covered baking pot.
The lid traps steam inside the pot, which helps produce:
• strong oven spring
• crisp crust
• evenly baked bread
Bake the loaf:
• 20 minutes covered
• 35–40 minutes uncovered
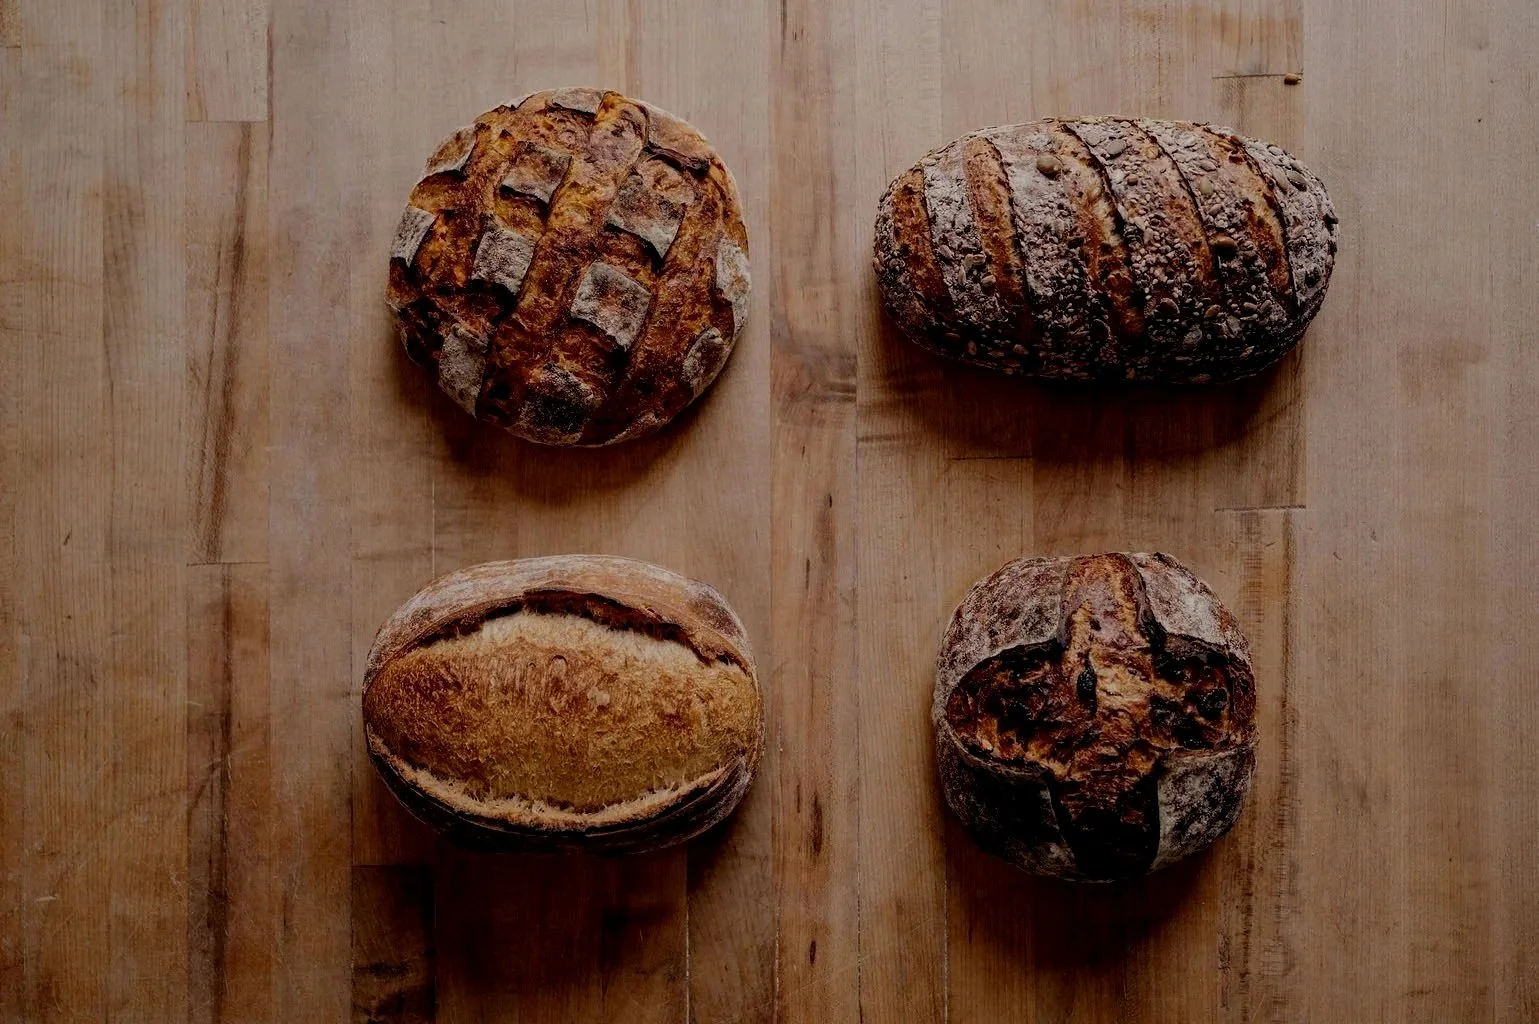
The finished bread should have a deep golden crust and an internal temperature of around 205–210°F (96–98°C).
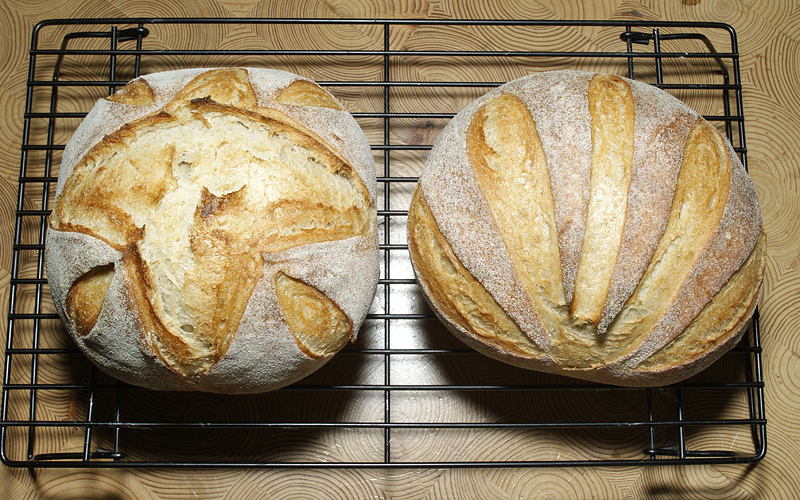
Cooling and Serving
After baking, remove the bread from the pot and place it on a wire rack.
Allow it to cool for at least one hour before slicing.
Cutting too early releases steam and can make the bread gummy inside.
Final Thoughts
Sourdough baking may seem intimidating at first, but once you understand the basic process it becomes an enjoyable routine.
With practice you’ll learn how to:
• adjust fermentation times
• shape dough confidently
• develop your own baking rhythm
Having the right tools can also make a big difference in your results. At CulinaryProfis, we specialize in professional baking equipment including the legendary Ankarsrum stand mixer, known for its ability to handle heavy bread dough with ease.
Explore the full Ankarsrum collection here:
👉 https://culinaryprofis.com/collections/ankarsrum-original-stand-mixers-accessories